Feeling a bit crafty and witchy? Creating sigil stones can be a fulfilling and magical way to enhance your altar or upcoming ritual. You don’t need to be an artist to create these sacred symbols; all it takes is a bit of imagination, some smooth river stones, and a Sharpie. Let’s explore how to make and use sigil stones for your magical intentions and spellcraft!
What are Sigils?
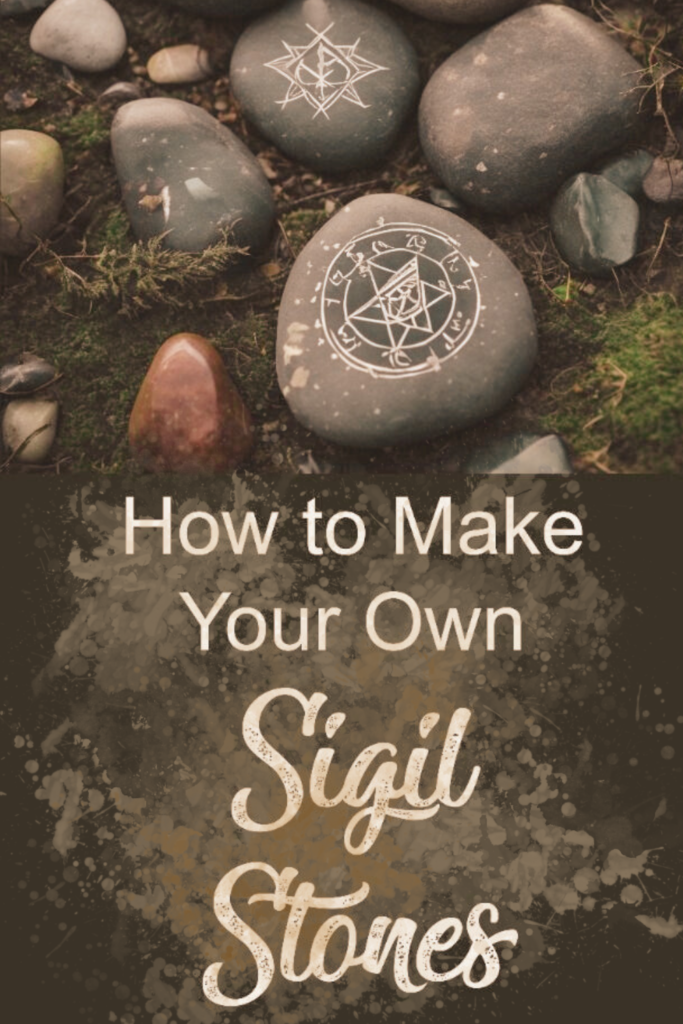
At their core, sigils are unique symbols crafted to represent a magical intention. They are a powerful tool in the witch’s arsenal, often used for spellwork and manifestation. Practitioners can carve or draw sigils on various surfaces—from candles to clay to even cookies—but in this project, we’ll focus on a more permanent medium: stones.
Using stones for sigils is excellent for long-term intentions. For example, if you’re looking to enhance your career prospects, you might create a sigil stone to place on your altar as a reminder of your goals. Similarly, a sigil stone can symbolize peace, prosperity, and domestic harmony in your home.
Choosing and Using Stones for Sigils
When selecting stones for your sigil project, consider the type of stone you want to use. Smooth, unpolished river stones work best, but feel free to explore other types that resonate with your intentions.
I personally enjoy using smooth river stones found near a creek, but here’s where customization comes into play. If your intention is specific, you might choose a stone with metaphysical properties that align with your goal.
Take a moment to observe the shape, surface, and texture of each stone. Ideally, the design of your sigil should complement the stone’s personality. For example, a longer stone may be well-suited for an elongated design, while a round stone might work better with circular symbols.
How to Design a Sigil
Designing a sigil can be an intuitive process, or you can approach it with a more structured method if that feels better for you. Here’s a straightforward guide to creating sigils that anyone can follow.
Step 1: Define Your Intention
Start by choosing a word or a small phrase that encapsulates your magical intention. Here are a few examples:
- Love
- Success
- Stop Gossip
Step 2: Brainstorm Symbols
Next, think of shapes or symbols that represent your chosen word. For example, a heart often signifies love, while a dollar sign can symbolize success. You might also consider numbers or symbols from numerology that resonate with your intention.
Remember, there are no strict rules here. Choose what feels right for you, and don’t be afraid to let your creativity flow!
Step 3: Incorporate Personal Symbols
Now, think about a symbol that represents you personally. This could be your astrological sign, a cultural symbol, or anything meaningful to you. For instance, if you’re a Scorpio, you might want to incorporate the Scorpio symbol into your design.
Step 4: Sketch Your Design
Before committing to the stone, sketch your design on scratch paper. Play with different combinations, layering your chosen symbols over each other. For example, in a stone meant for self-love, you might overlay the Scorpio symbol with an inverted stylized number 9 (which symbolizes universal love in numerology) and a spiral representing spiritual growth.
Experiment with your design until it feels balanced and visually pleasing. Once you’re satisfied, it’s time to transfer it to the stone!
Charging and Using Sigil Stones
Charging your sigil stones is an essential part of the process, as it empowers them with your intention. There are several ways to charge them, so choose what feels right for you:
- Sunlight: Leave your stones in the sunlight for several hours to absorb its energy.
- Sage Smoke: Pass the stones through the smoke of burning sage to cleanse and charge them.
- Personal Energy: Close your eyes and focus on imparting your energy and intention into the stone through meditation or visualization.
After Charging: How to Use Your Sigil Stones
Once your sigil stones are charged, you can incorporate them into your practice in various ways:
- Altar Display: Leave them on your altar as a standing symbol of your magical intentions.
- Goddess Garden: Hide them in your garden to enchant the space and invite positive energy into your property.
- Spell Basket: Include them in a spell basket with complementary themes and gift them to a like-minded friend.
- Entryways: Place them near entry points of your home to bless those who cross your threshold.
- Kids’ Rooms: Involve your children in making sigil stones, encouraging them to place them around their rooms for a sense of safety and love.
Additional Ideas for Sigil Stones
Beyond the basic uses mentioned, here are some creative ways to incorporate sigil stones into your practice:
- Meditation Focus: Use your sigil stone as a focal point during meditation, allowing its energy to guide your thoughts and intentions.
- Crystal Grids: Incorporate sigil stones into crystal grids to enhance the energy of your intentions. The combination of the stones’ energies can amplify your spellwork.
- Seasonal Celebrations: Create seasonal sigil stones that correspond with the Wheel of the Year. For instance, a sigil for abundance during the harvest season can be placed on your altar during Lammas.
Conclusion
Making and using sigil stones is not just a creative activity; it’s a meaningful way to channel your intentions into the physical realm. Whether you’re crafting these stones for yourself or as gifts for others, each sigil holds the potential to manifest your desires and elevate your spiritual practice.
So, gather your stones, unleash your creativity, and start infusing your magical practice with the power of sigil stones. Remember, the beauty of witchcraft lies in personal expression, so let your intuition guide you as you embark on this enchanting journey. Happy crafting, and may your intentions manifest beautifully!
Feel free to share your experiences with sigil stones or any questions you might have in the comments! Embrace the magic of creation and let your sigils empower your journey. Blessed be!
